Implementing the Feature
Part 3 of Predictive Test-Driven Development: After getting our tests to fail as expected, we're now ready to write some code to implement the feature.
Originally published on . Last updated on .
Implementing the Feature
Continuing from last time, we’re now ready to write code!
Predictive TDD
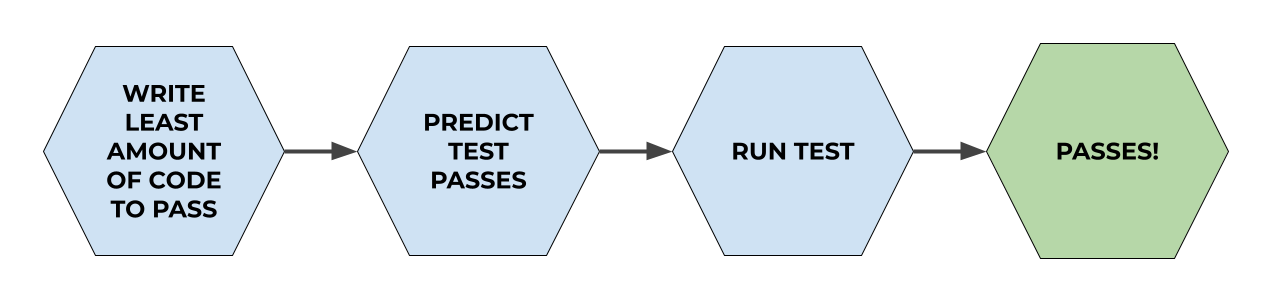
As a reminder, the high-level steps of PTDD are:
- Precisely define the desired change in behavior
- Write a test that fails in the precisely predicted way
- Implement (with minimal effort) the behavior to make the test pass
- Increase the Changeability of the code by Refactoring
In Part 1, we defined the behavior change we wanted to see. Remember that new functionality (or the rare removal of functionality) is a change in behavior. In Part 2, we wrote a test and made it fail in the way we wanted and expected. In this part, we can finally write code to implement that new behavior and Get To Green!
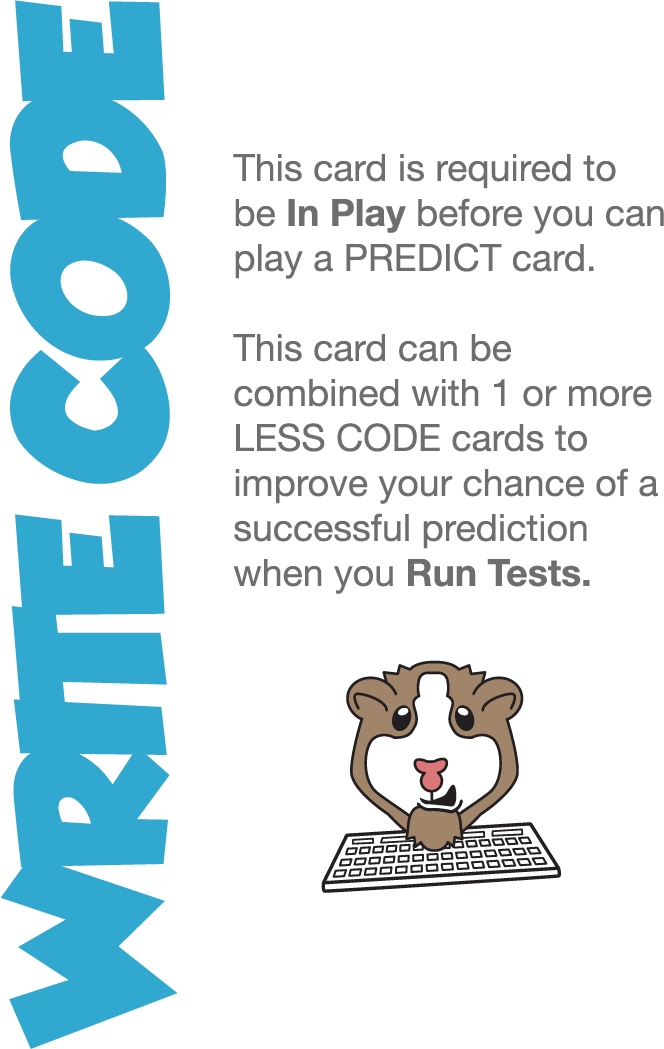
Write Less Code
One of the difficult aspects of learning TDD (and we’re always learning when doing TDD) is writing the absolute minimum amount of code to get the (currently failing) test to pass[1]. Most of us were taught, or learned along the way, to write generalized code that captures multiple, different scenarios. This habit leads us to write code that handles situations that the test isn’t testing. It’s hard to break this habit, but taking tiny steps is the key to success with TDD.
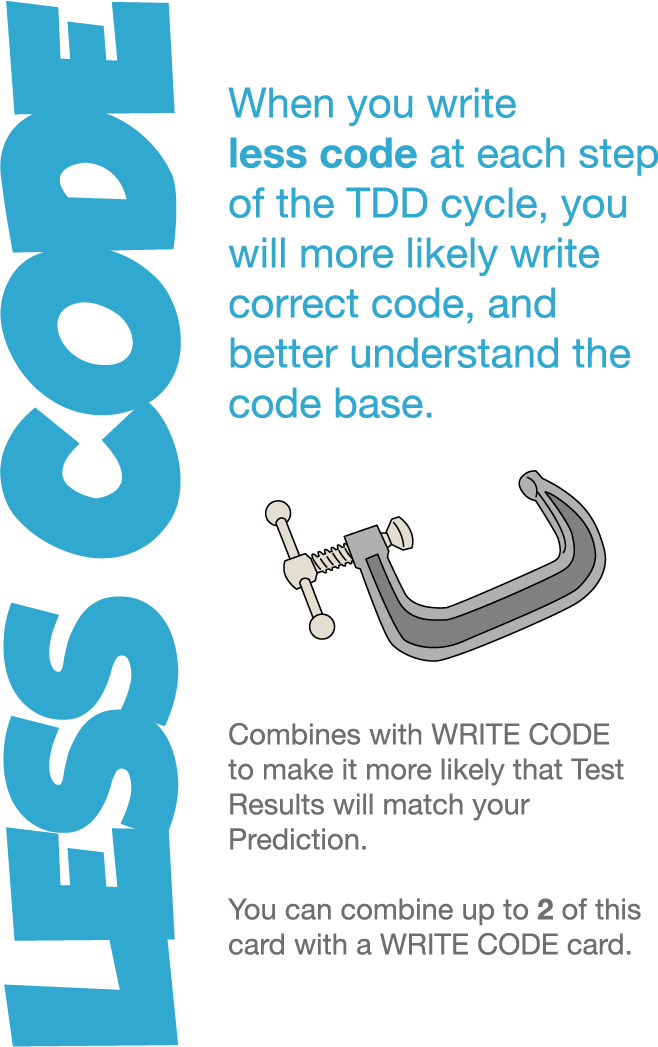
Writing less code means the code will more likely be correct. If it’s not, and the test continues to fail (or other tests fail!), there will be less code to troubleshoot. It’s much easier to find a bug in 3 lines of code than 10, let alone 50.
By focusing on just getting the test to pass, and not concerning ourselves with how “elegant” or “beautiful” the code is, we can use all our precious cognitive energy to solve the problem. Later on, we can transform the code into something better through the refactoring process, but let’s make it work first.
Blackjack Game: Player Draws a Card
In Part 2, we wrote a failing test for the behavior where a Player “draws” (takes) a single card from the deck of cards in a game of Blackjack. Here’s that test:
@Test
public void playerWithTwoCardsDrawsCardResultsInThreeCards() {
    Game game = new Game();
    game.initialDeal();

    game.playerDrawCardFromDeck();

    assertThat(game.playerCards())
               .hasSize(3);
}
After a bit of work, we were able to get the test to run and fail as expected. The player gets 2 cards from the initialDeal(), and since the playerDrawCardFromDeck() doesn’t (yet) do anything, we ended up with 2 cards instead of the 3 that we want.
Implement the Behavior
To get the test to compile (so we could watch it fail for the right reason), we created the playerDrawCardFromDeck() method, but purposely left the implementation empty. Now we (finally!) fill in the desired behavior.
Our instincts might lead us to writing an implementation that looks like this:
public void playerDrawCardFromDeck() {
   playerHand.add(deck.draw());
}
This may not look like much, but just in this one line we have:
playerHand, and knowing what it is (it’s aList<Card>)- The
List’sadd()method (which takes aCard) - deck (an instance of the
Deckclass) - The deck’s
draw()method (which returns aCard, matching theadd()parameter)
That’s 4 different things to think about, which can be a lot if you’re not familiar with the code. However, since we are (at least I am) familiar with it, it’s fine. In fact, this code was copy-pasted from elsewhere in the Game class. We copied it from the initialDeal() method, where cards are dealt to the player and dealer, so this counts as “less effort code”.
Predict Success
Now that we have a test that failed for the right reason and implemented the least effort code that we think will make the test pass, it’s time to run the test. This time, instead of predicting failure, we’re predicting the failing test will now pass, so we run it.
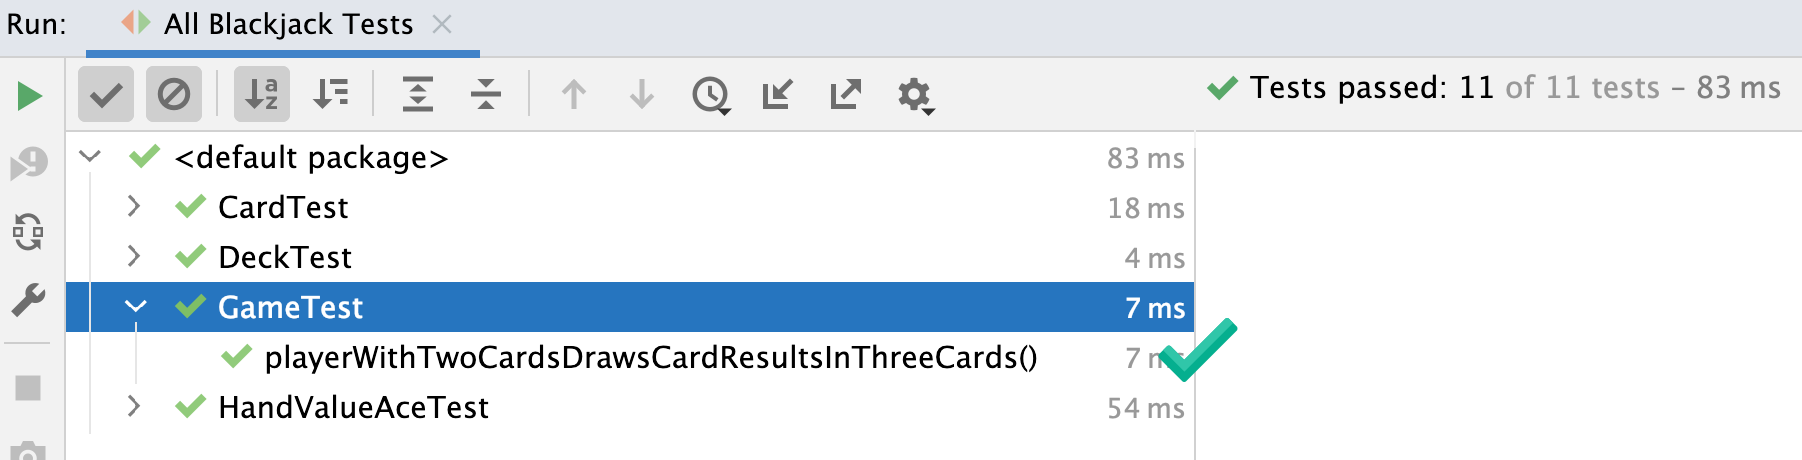
And it does indeed pass—ship it!
Assertion Precision
Should we celebrate yet? Our assertion that the player ends up with 3 cards is necessary, but is it sufficient? And while we got the tests to pass—we’re in “The Green”—we’re not yet done with our TDD cycle, as we haven’t looked for Refactoring opportunities.
Next time, we’ll “ratchet up” (make more precise) what asserting, and then we can move on to the last step: Refactoring. Subscribe below to make sure you don’t miss it!
The TDD Intro Series
- Red-Green or Refactoring First?
- Clarifying the Goal of Behavior Change
- Predicting the Failing Test
- Implementing the Feature (this article)
- Tightening Our Assertions
I often refer to this as “least effort code,” because sometimes copying and pasting 5 lines of code is the least effort, but possibly not the least amount of code. ↩︎